What to Expect the Day Your Roofer is Installing Your New Roof
What to Expect the Day Your Roofer is Installing Your New Roof
Getting a new roof installed is a big investment in your home’s future, but the process can feel a little daunting if you don’t know what to expect. Whether it's your first time getting a new roof or you’re simply unsure of the process, understanding what will happen when your roofer arrives can help you feel more prepared and at ease. Here’s a breakdown of what to expect when your roofer comes to install your new roof.
1. Arrival and Setup

The day of your roof installation begins early. Roofers often arrive first thing in the morning, usually around 6:30-7:00AM, to ensure they have enough daylight to complete the job. Once they arrive, they’ll begin by setting up the necessary equipment. This may include:
Placing a dumpster or debris container: This large container will be placed on your driveway or lawn to collect debris as the old roof is removed. Sometimes a dumpster will be delivered the day prior.
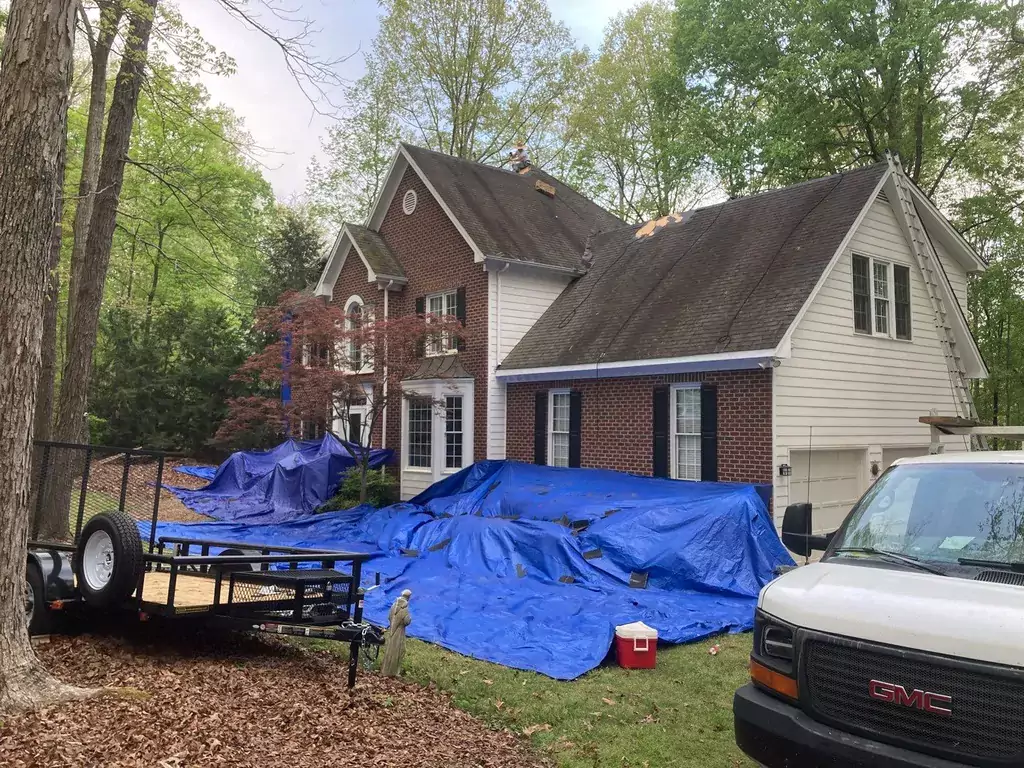
Protecting your property: Roofers will take precautions to protect your landscaping, driveway, and other areas from falling debris. They may use tarps, plywood, or protective mesh to shield these areas. Its a good idea to move your vehicle to the street if you plan on using it that day. You may end up getting blocked in and your driveway will be covered in nails while the roofer strips the old shingles off the roof.
Setting up ladders and scaffolding: To safely access your roof, the crew will set up ladders or scaffolding around the perimeter of your home.
Expect some noise during this setup, but it should only last a short time.
2. Removal of the Old Roof

Once everything is in place, the crew will begin removing the old roofing materials. This step can be a bit loud because it involves tearing off the old shingles, nails, and underlayment. You may hear:
Loud banging and scraping as the old materials are ripped off and tossed into the dumpster.
Shingles and debris falling as they are removed, which might sound like a heavy rain or a drumroll.
The length of time this takes depends on the size and condition of your roof, but it usually takes several hours. If your roof has multiple layers of shingles, it could take longer.
3. Inspection and Preparation of the Roof Deck

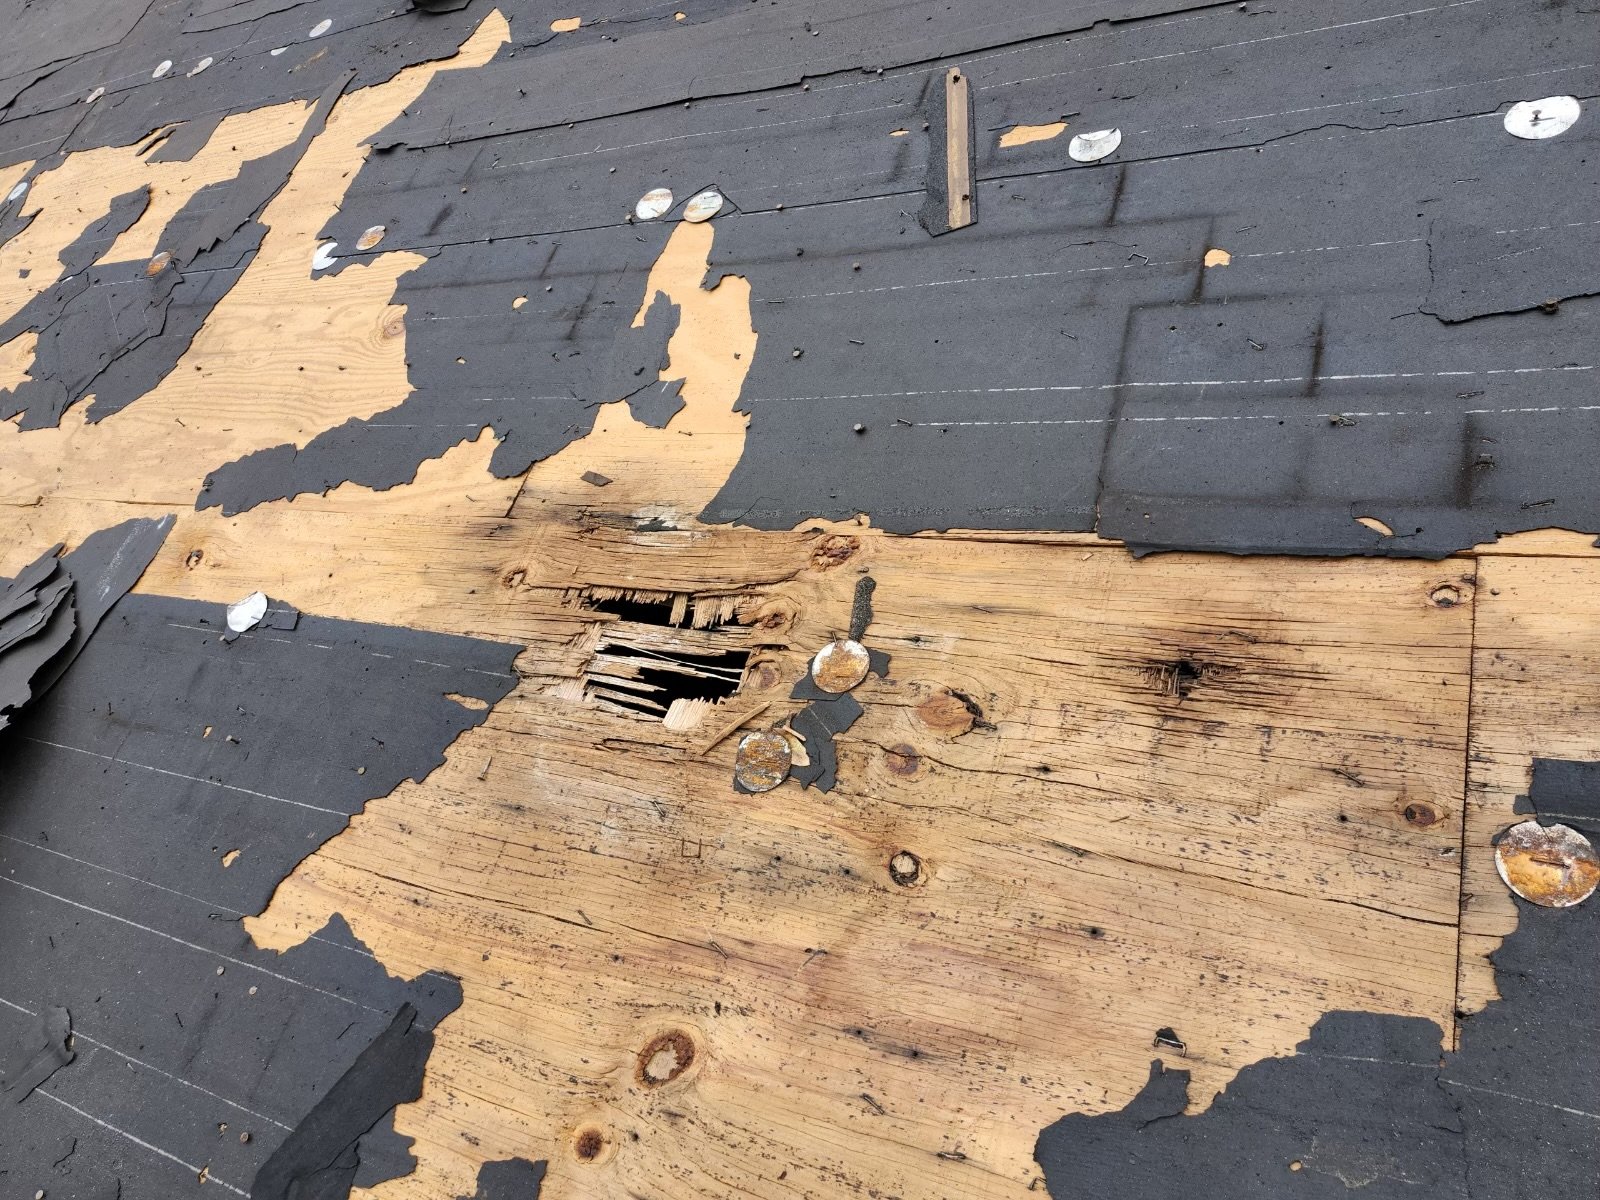
Once the old roofing materials are removed, the roofer will inspect the roof deck (the plywood or material that forms the foundation of your roof). If there is any damage, such as rotting or weakness in the decking, it will be repaired before the new shingles are installed. This ensures that the roof is structurally sound.
This stage typically involves:
Replacing damaged decking or plywood if necessary.
Applying a waterproof membrane or underlayment: This is a protective layer that helps keep your home dry in case of leaks.
This phase may not be loud, but it can take some time depending on the extent of any needed repairs.
4. Installation of the New Roofing Materials
Now comes the exciting part—putting on your new roof! The crew will start by installing the underlayment (if not already done), followed by the roofing material you’ve chosen (shingles, tiles, metal panels, etc.). This phase will involve some noise from hammers, nail guns, and power tools.
Key steps in this process include:
Installing the drip edge: This metal flashing is applied along the edges of the roof to help direct water away from your home.
Laying the underlayment: This material provides an extra layer of protection against leaks.
Placing shingles or other materials: The roofing materials will be placed row by row, overlapping each layer to ensure maximum protection.
The pace of installation depends on the size of your roof, the type of roofing material, and the number of workers. Expect the crew to work methodically and efficiently. Depending on the complexity, this phase can take anywhere from a few hours to a full day.
5. Finishing Touches
After the main roofing materials are installed, the crew will begin to add the finishing touches. This includes:
Installing ridge caps at the peak of your roof to prevent water from seeping in.
Sealing areas around chimneys, vents, skylights, and other roof penetrations with special flashing or sealant to prevent leaks.
Inspecting the roof for any issues or areas that need adjustment.
The roofers will also ensure that all the nails are properly secured and that the roof’s aesthetic matches your expectations.
6. Clean-Up and Final Inspection
Once the roof installation is complete, the crew will begin cleaning up the work area. You can expect:
Cleaning up debris: The crew will pick up old shingles, nails, and any other materials. They often use magnetic tools to sweep the area for nails and other small debris that might be left behind.
Inspecting the roof: A final inspection is conducted to make sure the roof has been installed correctly, ensuring that all aspects meet the necessary standards.
They will then remove the dumpster and any remaining equipment from your property.
7. What to Expect After the Installation
After your new roof is installed, your roofer will provide you with a warranty and any necessary documentation. They may also schedule a follow-up inspection in a few months to ensure that everything is holding up well.
Expect the roof to look great immediately after installation. While it may take a little time for the roof to "settle" and for you to get used to its new look, any settling or minor adjustments will usually be taken care of quickly.
Final Thoughts
While the process of installing a new roof can seem overwhelming, knowing what to expect can make the experience much smoother. The day your roofer comes to install your new roof will involve noise, some disruptions, and a few hours of activity, but it will ultimately result in a beautiful, secure, and long-lasting roof over your head. By staying informed and prepared, you can ensure that the installation goes smoothly and enjoy the peace of mind that comes with a new roof.